
Halloween is the perfect excuse to get creative, surprise someone you love, and turn simple materials into something memorable. But you don’t need expensive decorations, professional crafting skills, or a cupboard full of supplies to make a beautiful Halloween gift.
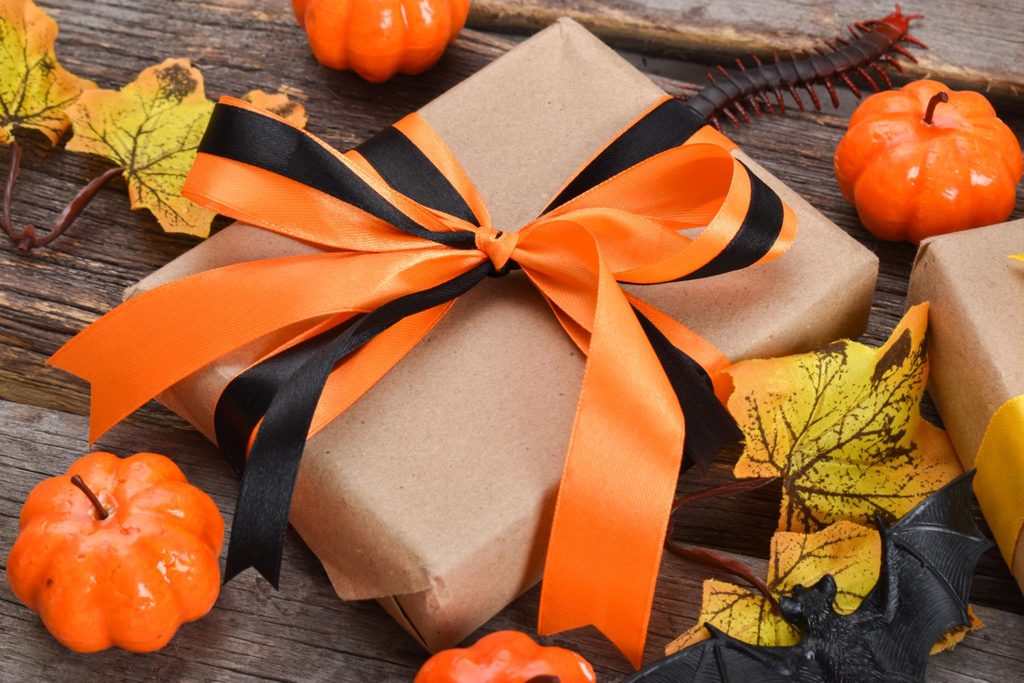
With a few mini pumpkins, orange tissue paper, reusable baskets, natural twine, and a little imagination, you can create thoughtful presents for friends, family members, teachers, neighbours, and anyone who enjoys a little Halloween magic.
In this guide, we’ll explore easy Halloween pumpkin gift ideas, beginner-friendly wrapping techniques, simple gift baskets, and creative ways to personalise your presents. You’ll also find free printable Halloween gift tags to help you finish each gift with a special touch.
Whether you prefer cute pumpkins, rustic natural decorations, or something a little spooky, there’s an idea here you can try at home.
Why Pumpkin-Themed Gifts Are Perfect for Halloween
Pumpkins are one of the most recognisable symbols of Halloween. Their warm orange colour, interesting shapes, and natural texture make them excellent decorations and gift accessories.
You can use real mini pumpkins, artificial pumpkins, pumpkin illustrations, or pumpkin-shaped packaging to create a festive look.
Pumpkin-themed gifts are also versatile. A small painted pumpkin can become a decorative present, while a basket filled with treats and wrapped in natural materials makes a thoughtful gift for a friend or family member.
The best part? You can adapt most of these ideas to suit your budget, available materials, and crafting experience.
1. Create a Mini Pumpkin Gift
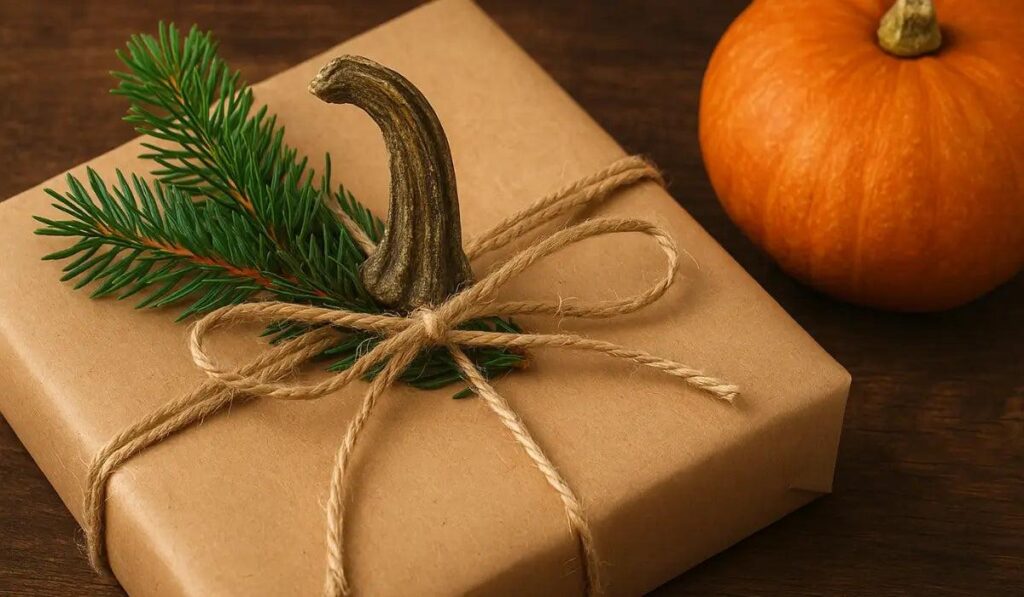
A mini pumpkin can become a simple but charming Halloween gift.
Choose a clean, undamaged pumpkin and place it in a small basket, gift box, or paper bag. Tie a piece of natural twine around the packaging and attach a handwritten message.
You could write:
- Happy Halloween!
- A little pumpkin just for you.
- Sending you a little autumn happiness.
- Have a spook-tacular day!
For a more decorative finish, add a few artificial leaves or a small paper tag.
Beginner tip: Choose a small pumpkin that sits securely inside the packaging. Avoid wrapping fresh pumpkins tightly in plastic, as trapped moisture can encourage spoilage.
2. Make a Halloween Treat Bag
Treat bags are ideal for children, classmates, neighbours, and family gatherings.
You’ll need small paper bags, tissue paper, ribbon or twine, and a selection of individually wrapped sweets or small non-food surprises.
Fill the bag, fold the top over, and secure it with ribbon. Add a pumpkin sticker or one of the printable Halloween gift tags included with this guide.
For a garden-inspired appearance, choose kraft paper bags and decorate them with simple leaf drawings.
Make it personal: Write the recipient’s name on the tag to make each bag feel special.
If the treats are intended for young children, check for choking hazards and common allergens, and keep small decorations away from very young children.
3. Assemble a Halloween Gift Basket
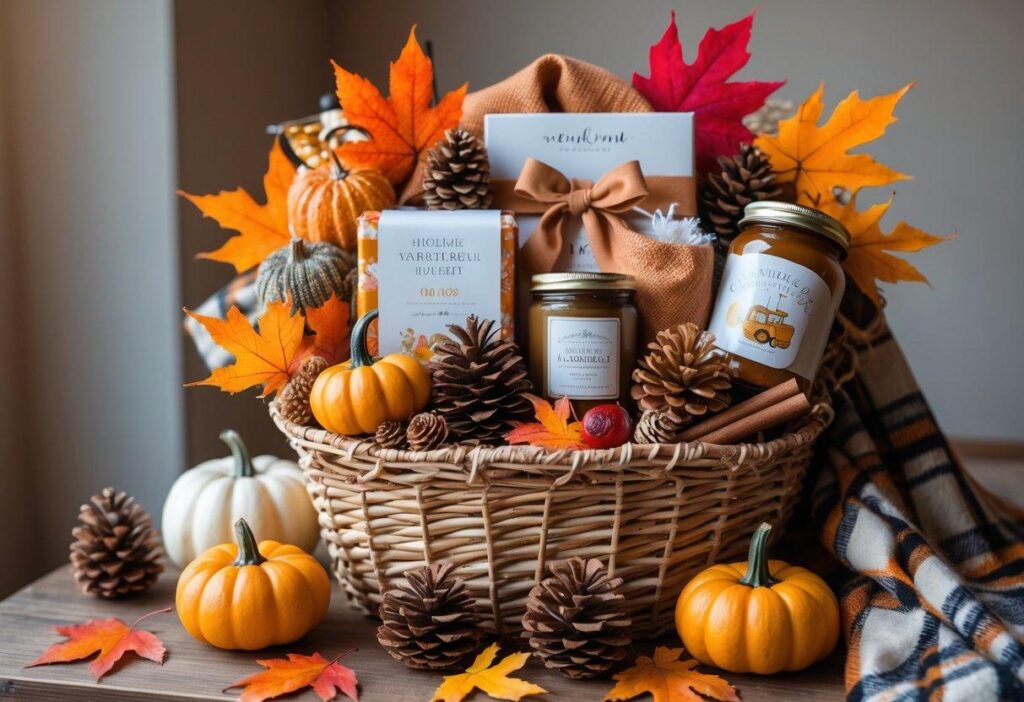
A Halloween gift basket is a lovely way to combine several small gifts into one attractive package.
Start with a reusable basket, sturdy cardboard box, or decorative container. Add clean tissue paper or shredded paper to create a base, then arrange your items at different heights.
You could include:
- Individually wrapped treats.
- A small decorative pumpkin.
- A handwritten Halloween card.
- A packet of seeds for someone who enjoys gardening.
- A reusable mug or another small practical gift.
- A little handmade decoration.
Choose two or three coordinating colours, such as orange, cream, and green, to keep the arrangement looking cohesive.
Finish with natural twine and a gift tag.
Beginner tip: Place the tallest items at the back and smaller items towards the front. This helps everything remain visible without needing expensive basket decorations.
4. Paint a Pumpkin for a Personalised Gift
Painting a pumpkin is a simple craft project that allows you to customise a gift for different personalities.
For a minimalist look, paint a small pumpkin cream or sage green. For a traditional Halloween appearance, use orange with dark details. You can also paint simple leaves, dots, stripes, or a friendly face.
Use paints suitable for your pumpkin and intended display. Allow the paint to dry fully before placing the pumpkin in its gift packaging.
For a beginner-friendly project, start with a small artificial pumpkin. It can be reused year after year and is less likely to spoil before the recipient displays it.
Important: Never place a freshly painted or decorated pumpkin near an open flame. Keep decorations away from candles and other heat sources.
5. Wrap Gifts in Brown Kraft Paper
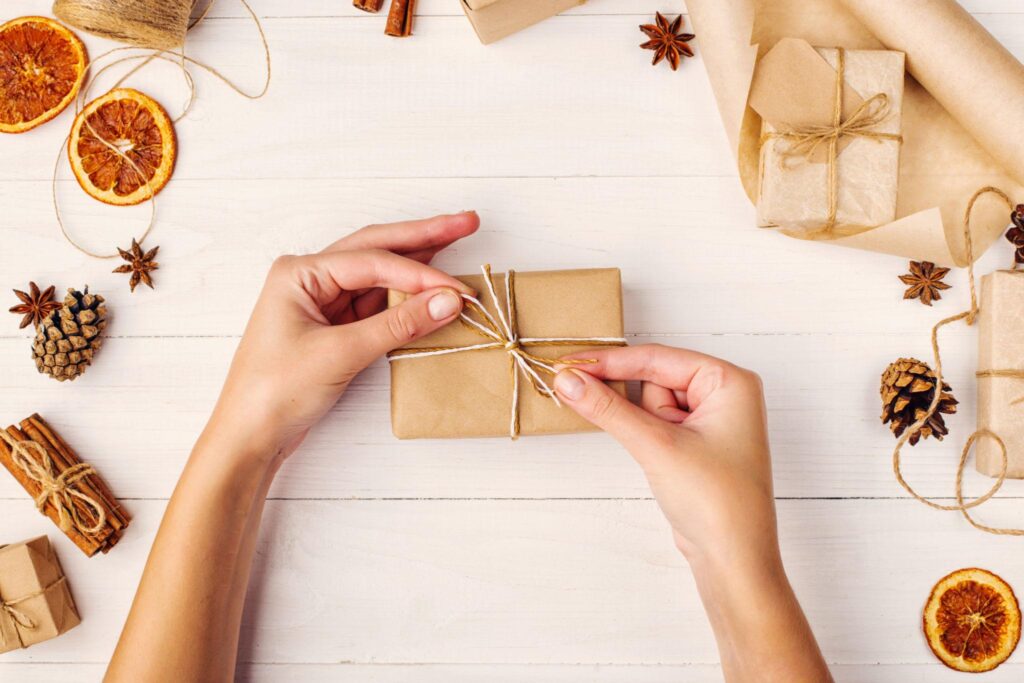
Brown kraft paper is one of the easiest materials to use for natural-looking Halloween gift wrapping.
Its neutral colour pairs beautifully with orange ribbon, green leaves, cream tags, and natural twine.
To wrap a gift:
- Cut enough paper to cover the box, allowing a little overlap.
- Place the gift in the centre of the paper.
- Fold the paper neatly around the box and secure it with tape.
- Tie orange ribbon or natural twine around the package.
- Attach a pumpkin-themed gift tag.
You can leave the paper plain for a rustic appearance or decorate it with small pumpkin drawings.
If you’re wrapping several gifts, repeat the same colours and materials to create a matching collection.
6. Make Your Own Pumpkin Gift-Wrap Pattern
You don’t need professionally printed wrapping paper to create a coordinated Halloween gift.
Start with plain kraft paper or lightweight paper suitable for wrapping. Draw small pumpkins, leaves, and curling vines using coloured pencils, markers, or paint.
Keep the motifs simple and repeat them across the sheet. A little empty space between the designs will help the pattern look balanced rather than crowded.
Alternatively, use the matching pumpkin-and-leaf pattern provided in the Greenspacey printable kit.
Print a test sheet first to check the colours and scale. If you need to wrap a larger present, trim the edges neatly and join additional sheets at the back with tape.
Money-saving tip: Save clean paper from parcels and reuse it for smaller gifts. Avoid reusing paper that is torn, dirty, or unsuitable for the recipient.
7. Decorate Gifts With Leaves and Natural Twine
Natural details can make inexpensive wrapping look thoughtful and distinctive.
Tie a length of twine around your wrapped gift and tuck in a clean, dry artificial leaf or a suitable decorative sprig. You can also attach a small paper pumpkin cutout.
If using fresh plant material, choose non-toxic varieties and make sure the leaves are clean and dry. Some plants can irritate skin or be harmful if eaten, so avoid unidentified plants around children and pets.
For gifts that will be stored for several days, artificial foliage or paper leaves are usually more practical than fresh greenery.
Keep the decoration small enough that the recipient can open the gift easily.
8. Try Fabric Gift Wrapping
Fabric wrapping is a reusable alternative to disposable wrapping paper.
Use a clean piece of fabric, a scarf, or a suitable square cloth. Place the gift in the centre, bring the corners together, and tie them into a secure knot.
Choose cream, burnt orange, dark green, or a subtle leaf print to match the Halloween theme.
Fabric works particularly well for books, small boxes, candles, and other gifts with a relatively regular shape.
If you are giving the fabric-wrapped gift to someone who enjoys gardening, the fabric itself can be part of the present.
9. Make a Halloween Gift Box
A plain cardboard box can become a beautiful gift container with a few simple additions.
Cover the outside with kraft paper, add a paper pumpkin decoration, and tie the box with ribbon or twine.
For a more personal touch, decorate the lid with a short message or the recipient’s name.
You can use boxes saved from previous deliveries, provided they are clean, sturdy, and in good condition. This makes the project affordable and gives packaging another use.
Avoid placing food directly against surfaces that are not intended for food contact. Keep edible gifts in suitable sealed packaging.
10. Create a Garden-Lover’s Halloween Gift
For a friend or family member who enjoys plants, combine Halloween styling with a small gardening gift.
Ideas include:
- A packet of flower seeds suitable for the recipient’s growing conditions.
- A small, clearly labelled plant pot.
- A set of plant labels decorated with pumpkin illustrations.
- A gardening notebook tied with green twine.
- A small artificial pumpkin paired with a gardening card.
You could place the gift in a reusable container and add a tag that says, “Wishing you a little Halloween magic and a garden full of joy.”
If you’re giving seeds, check that the variety suits the recipient’s climate and planting season. A useful gift is one they can realistically grow.
11. Make a Cute Pumpkin-Shaped Gift Package
You can turn a small gift into a pumpkin-inspired package using tissue paper.
Place a lightweight item in the centre of a generous sheet of orange tissue paper. Gather the paper carefully around it and secure the top with ribbon.
Add a small piece of green paper to suggest a pumpkin stem.
This technique works best for soft, lightweight items that do not have sharp edges. For fragile or heavy objects, use a sturdy box instead.
Avoid making the gathered paper too tight, as it can tear easily.
12. Personalise Your Gifts With Handmade Cards
A handmade card adds meaning without adding much cost.
Cut a rectangle from cardstock, fold it in half, and draw a pumpkin or leaf on the front. Write a short message inside.
Here are a few messages you can use:
- “A little treat for someone sweet.”
- “Hope your Halloween is full of happy surprises.”
- “Sending warm wishes and pumpkin smiles.”
- “Thanks for being such a wonderful friend.”
- “Have a lovely Halloween filled with laughter.”
If you’re giving a gift to a family, write a message that everyone can enjoy.
You can coordinate the card with the gift tag and wrapping paper so the entire package feels like a small collection.
13. Prepare a Halloween Gift for a Family Movie Night
A family movie-night package is a fun alternative to a traditional gift basket.
Use a reusable box or basket and add popcorn in suitable sealed packaging, individually wrapped snacks, cosy socks, and a handwritten list of family-friendly Halloween films.
Decorate the outside with a paper pumpkin and a simple message such as “Halloween Movie Night.”
Choose age-appropriate films and check food allergies before including snacks.
The idea is easy to customise: you can make a smaller version for a couple or a larger basket for a family gathering.
14. Make a Last-Minute Halloween Gift
If Halloween is approaching and you haven’t prepared a gift, keep the project simple.
Choose one small item, wrap it in kraft paper or place it in a paper bag, and add a printable gift tag.
A mini pumpkin, a packet of treats, a handwritten card, or a small gardening accessory can all work.
The key is to focus on one thoughtful detail rather than trying to create an elaborate package at the last minute.
A quick formula: One gift + one coordinating colour + one personal message = a thoughtful Halloween present.
15. Create a Matching Set of Halloween Gifts
If you’re preparing presents for several friends or family members, make a small collection using the same materials.
For example, wrap three gifts in kraft paper, use orange twine on each, and add a different tag to every package.
You could also vary the contents while keeping the wrapping consistent. One person might receive a mini pumpkin, another a treat bag, and another a small gardening gift.
This approach saves time because you can prepare the tags, ribbon, and wrapping materials together.
It also makes your gifts look coordinated without requiring identical presents.
Free Printable Halloween Gift Tags and Wrapping Pattern
To help you get started, we’ve created a Greenspacey Halloween printable kit featuring eight pumpkin-themed gift tags and a coordinating pumpkin-and-leaf wrapping pattern.
The natural orange, green, cream, and kraft-inspired colours are designed to complement simple, garden-inspired gifts.
How to use the printable
- Download the PDF and open it in a PDF reader.
- Print the gift-tag page on cardstock for sturdier tags.
- Print the wrapping-pattern page on suitable paper for small gifts.
- Cut out the tags carefully and make a small hole where indicated.
- Thread ribbon or twine through the hole and attach the tag to your gift.
For larger presents, you can print additional pattern sheets and join them on the reverse side.
Printer colours and margins vary, so print one test copy before making several gifts. Use the printer’s “Actual Size” or 100% setting to preserve the intended layout.
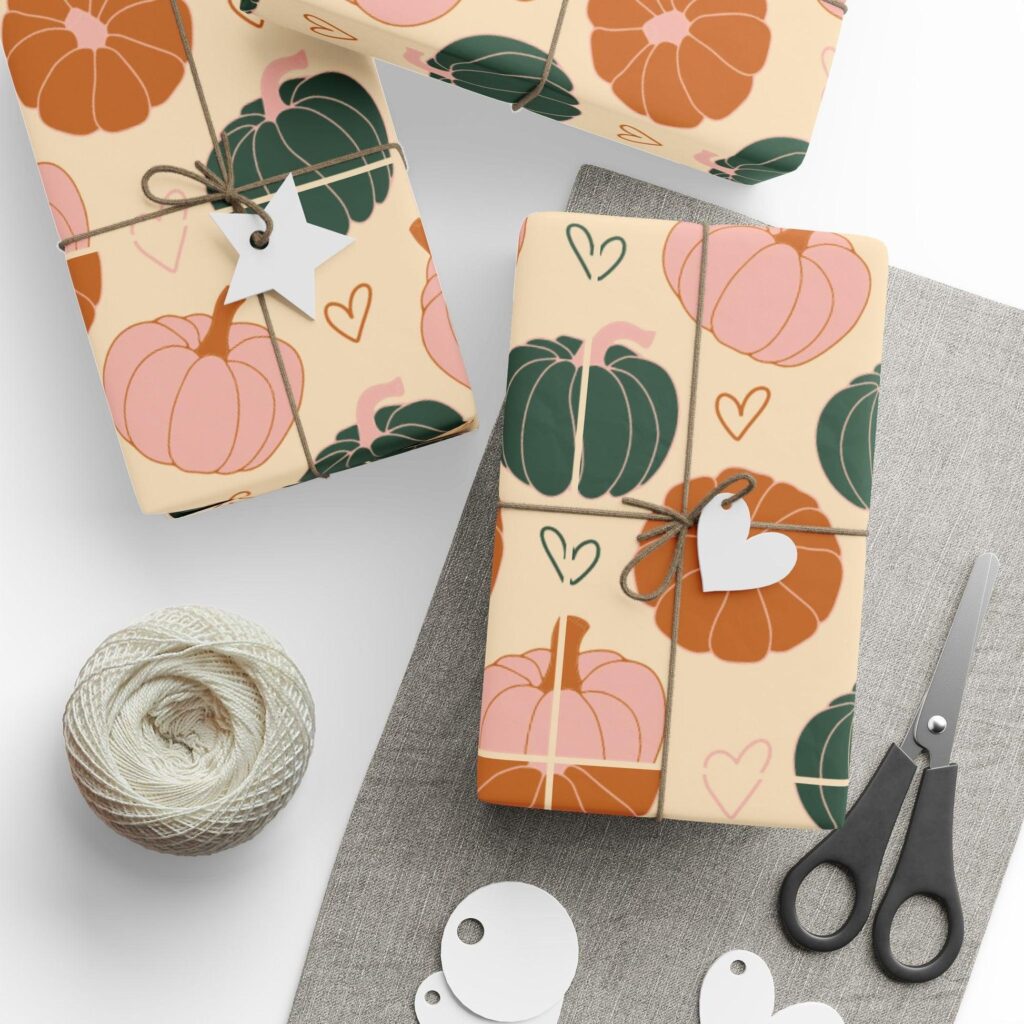
Download the free Greenspacey Halloween printable kit
Tips for Making Halloween Gifts on a Budget
Beautiful gifts don’t have to be expensive. A few practical choices can help you keep costs down.
- Reuse suitable packaging: Save clean boxes, baskets, and paper from previous deliveries.
- Buy only what you need: Choose a small colour palette so that ribbon, tags, and decorations work across multiple gifts.
- Use simple decorations: Hand-drawn pumpkins and paper leaves can look charming without expensive embellishments.
- Make gifts in batches: Prepare several tags and wrap multiple gifts in one session.
- Choose reusable containers: A sturdy basket or box can serve as part of the gift.
- Personalise rather than overdecorate: A handwritten message often makes a gift feel more thoughtful than additional decorations.
The goal is to create something meaningful with the materials you already have, adding a few inexpensive supplies where necessary.
Frequently Asked Questions
What are some easy Halloween gifts for beginners?
Mini pumpkins, treat bags, handmade cards, simple gift baskets, and kraft-paper-wrapped presents are all beginner-friendly. Most require only a few basic supplies and can be customised with colours and gift tags.
How do you wrap a Halloween gift creatively?
Start with plain kraft paper, add orange ribbon or green twine, and finish with a pumpkin-themed gift tag. Paper leaves and simple hand-drawn designs can make the package more distinctive.
What can I put in a Halloween gift basket?
You can include individually wrapped sweets, a small decorative pumpkin, a handwritten card, a reusable mug, a gardening accessory, or other small gifts suited to the recipient. Consider their age, preferences, and any food allergies.
How can I make Halloween gifts cheaply?
Reuse clean packaging, choose inexpensive paper decorations, make your own cards, and prepare several gifts using the same supplies. Personalised messages can add a special touch without increasing the budget.
Can I use real pumpkins as gifts?
Yes. Choose a clean, undamaged pumpkin and give it while it is still in good condition. Keep it in a suitable, dry location and avoid sealing fresh pumpkins inside plastic wrapping. Artificial pumpkins are a longer-lasting option for decorative gifts.
Can I print my own Halloween gift tags at home?
Yes. Download the printable PDF, print it on ordinary paper or cardstock, cut around the tag borders, and attach the tags using ribbon or twine. Cardstock is generally more durable.
What colours work well for natural Halloween gift wrapping?
Burnt orange, cream, dark green, brown kraft paper, and natural twine work well together. You can also add muted sage green or simple leaf motifs for a garden-inspired look.
Final Thoughts
Halloween gift-giving doesn’t need to be complicated. A small pumpkin, a handmade card, a thoughtful gift basket, or a neatly wrapped present can make someone feel appreciated.
Start with one idea, use materials you already have, and add a personal detail that suits the recipient. As you become more confident, you can experiment with different wrapping techniques, natural decorations, and coordinated gift sets.
Download the Greenspacey printable kit, gather a few simple supplies, and make a little Halloween magic of your own.
Happy crafting, and have a wonderful Halloween!